How to Make Your Photos Look Like Film (Without a Film Camera)
Film photos have four identifiable characteristics: grain, compressed highlights, color shifts, and light bleed. Here's how to get each one on a phone.
How to Make Your Photos Look Like Film (Without a Film Camera)
Film photos have a specific quality that phone cameras don't produce by default. Colors sit differently. Highlights roll off instead of clipping. There's texture in the shadows. Most people can spot the difference immediately, even if they can't name what they're seeing.
The good news: film's look comes from a handful of identifiable characteristics, and every one of them can be reproduced on a phone. Here's what actually makes a photo read as film, and how to get each element.
What makes a photo look like film
Four things do most of the work.
Grain. Film has physical silver halide crystals; digital sensors don't. That fine texture is probably the single strongest film signal. Digital noise looks different from film grain, though, so the goal isn't just adding noise but adding it with the right size and distribution.
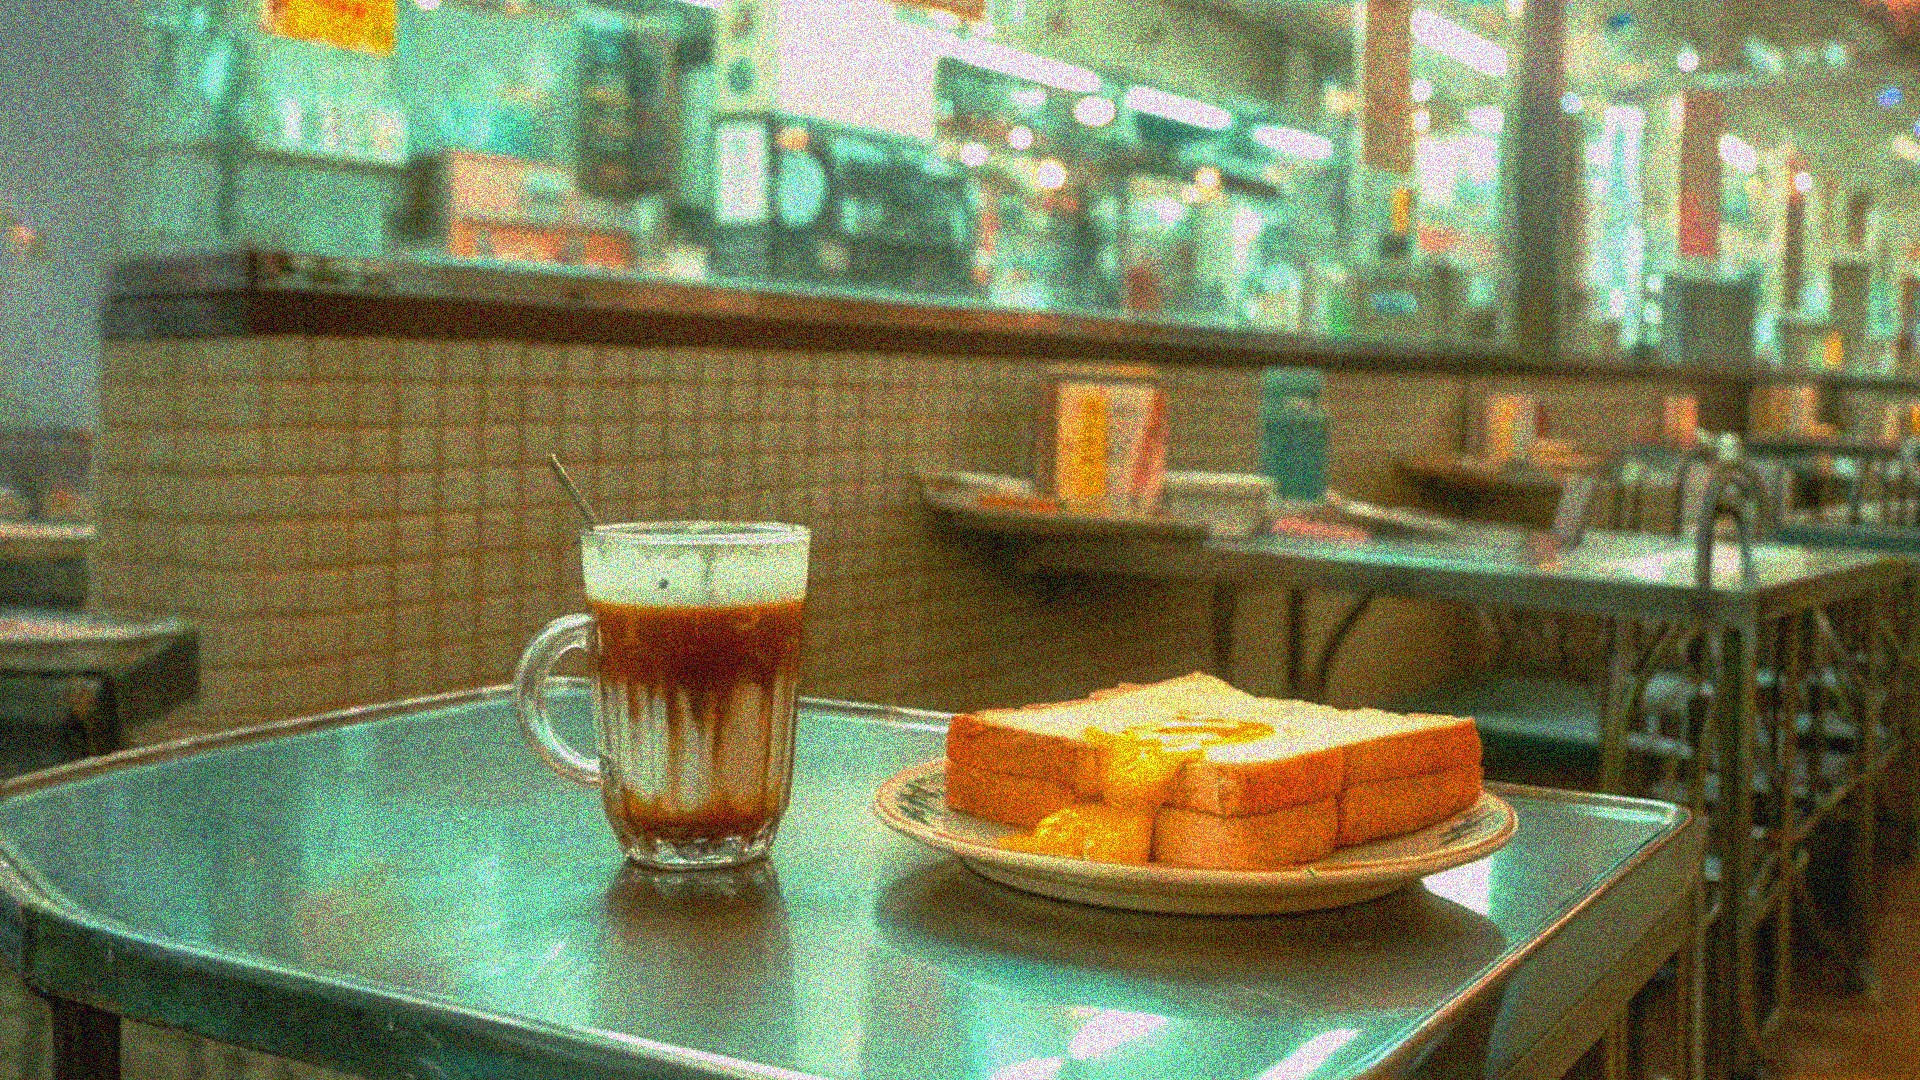
Compressed contrast. Film handles bright areas gently. Where a phone ca
mera clips a bright sky to pure white, film rolls it off gradually. Lowering contrast and pulling highlights down mimics this.
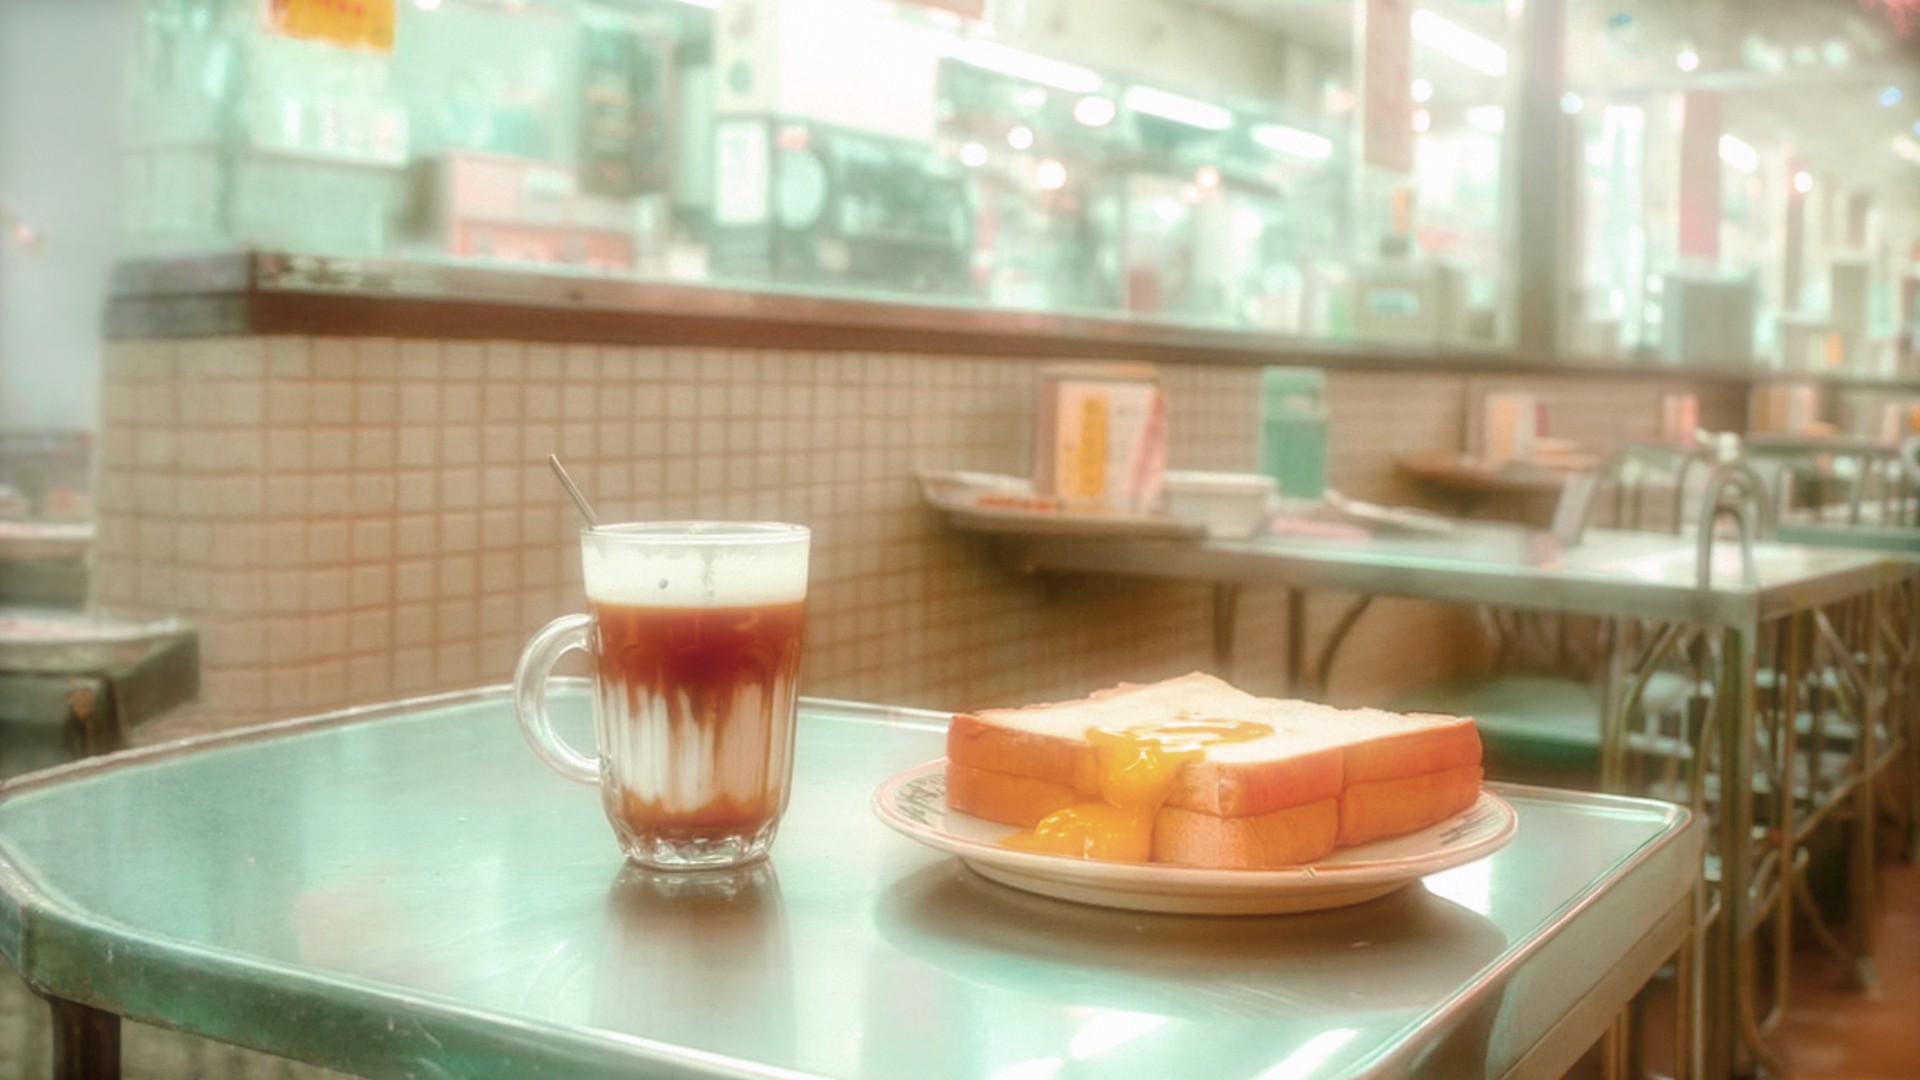
Color shifts. Film stocks aren't neutral. Some push warm, some go cyan in the shadows, some render greens unusually. Faded film shifts further as it ages. These deviations from "correct" color are what makes film look like film.
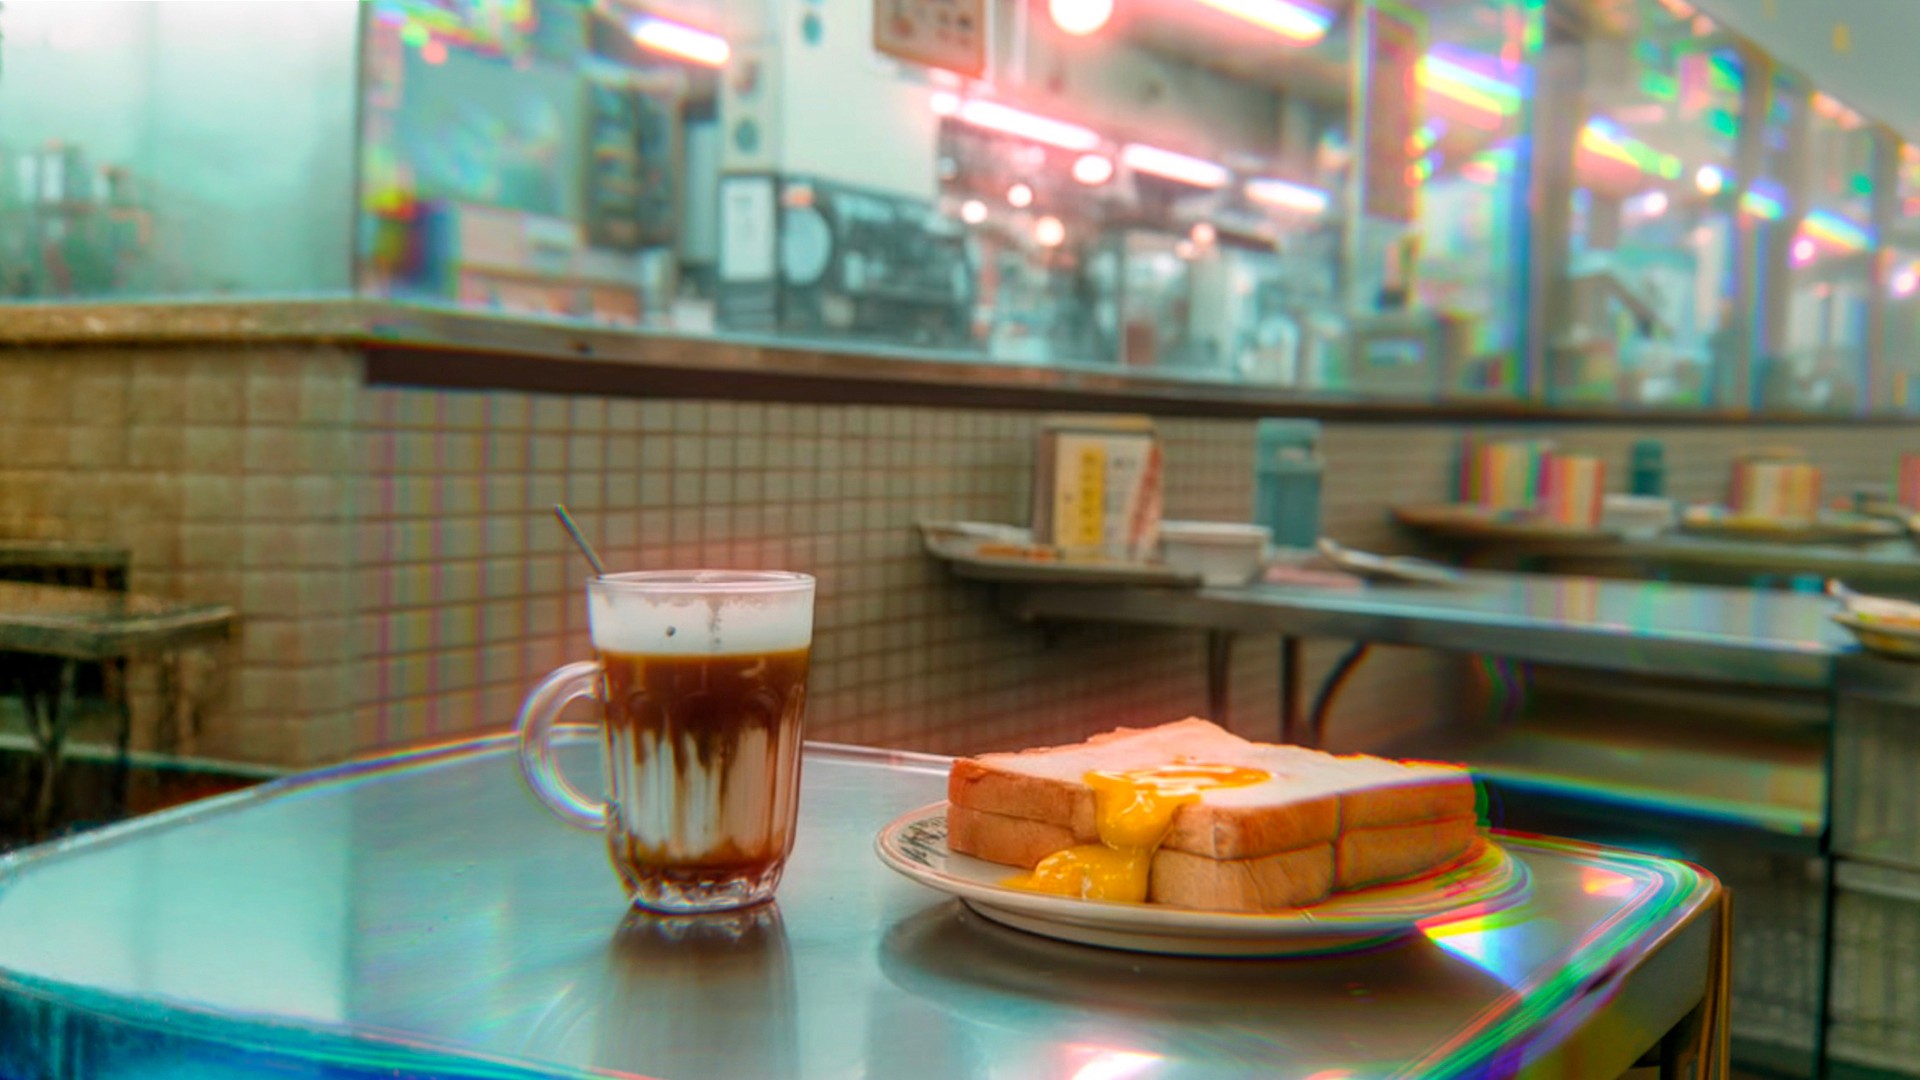
Light bleed and halation. On film, bright light scatters and glows slightly around its source. Digital captures a hard edge. That soft bloom around windows, streetlights, and reflections is a strong tell.
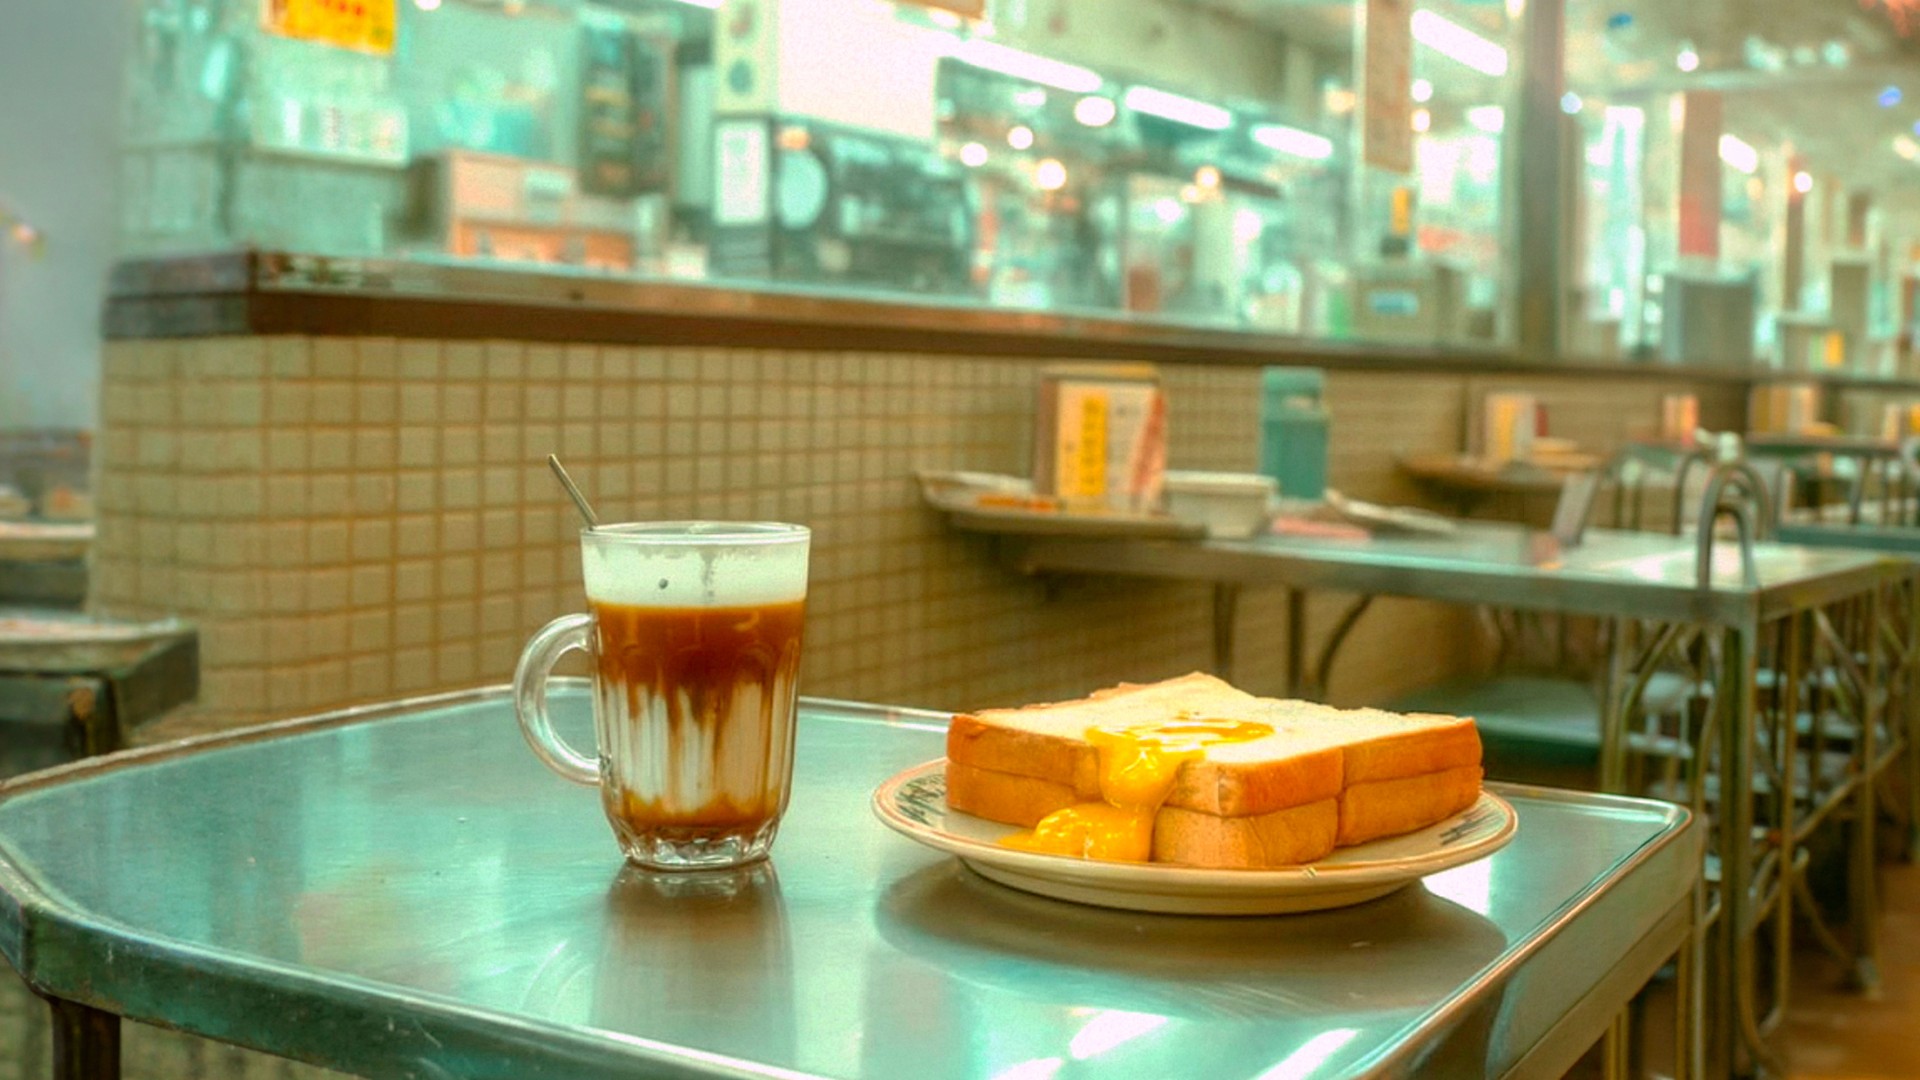
Getting each element
Grain
Add grain rather than sharpening. The instinct with phone photos is to increase clarity, but film pulls in the opposite direction: slightly soft with visible texture.
If you're using a camera app with presets, look for ones tagged grainy, film, or vintage. In Retrica, the Cinema set is built around this, and the Faded set adds grain along with washed-out tones.
Softer highlights
Bring contrast down and pull highlights back. You're not making the photo flat, you're keeping bright areas from blowing out. This one change does more than most people expect.
Retrica's Easy Adjust Kit includes directional presets for exactly this (FADED, WRFADED, CLFADED), which is faster than adjusting sliders manually.
Color shifts
Pick a direction rather than trying to be accurate. Warm and golden reads as sunny film stock. Cyan or green in the shadows reads as expired or cross-processed. Muted, desaturated color reads as older film.
Filters that push a consistent color cast work better here than ones that just boost saturation. Retrica's Antique set leans yellowed and aged; Flat Color Series flattens the tonal curve the way a scanned print does.
Light bleed
This is hardest to fake manually but easy with the right preset. Look for filters that add bloom or glow around highlights. Shoot toward a light source — a window, a streetlight, late afternoon sun — and the effect has something to work with.
Shoot for it, not just edit for it
Editing gets you most of the way, but a few shooting habits help.
Shoot in soft light. Overcast days, window light, the hour before sunset. Harsh midday sun creates the hard contrast film handles badly and phones exaggerate.
Let highlights be bright. Slightly overexposing and then pulling back in editing produces a more film-like roll-off than underexposing and lifting.
Include a light source in frame. Windows, lamps, reflections. This is what gives halation something to bloom around.
Don't over-compose. A lot of film's appeal is that it looks unfussy. Slightly imperfect framing often reads more authentic than a carefully centered shot.
Using live preview instead of editing after
One practical advantage of camera apps that apply filters live: you see the film look while framing, so you can adjust your position, exposure, and light before taking the shot rather than trying to rescue it afterward.
This matters more for film looks than for other styles, because so much of the effect depends on how light falls in the original frame. If you can see the bloom and the compressed highlights as you shoot, you can chase them.
Retrica applies its presets live in the camera and lets you shoot and save without a subscription, which makes it practical to experiment across a lot of different film looks before settling on one.
Where to start
If you want a shortcut: pick a preset tagged film or vintage, shoot toward soft window light in the late afternoon, and don't correct the color afterward. Those three choices get you most of the way there.
From there it's a matter of finding which specific film character you like. Warm and golden, cold and faded, high-contrast black and white, or heavily grained and nostalgic are all different directions, and the preset library you're working from will have sets built around each.
Techniques described here apply to any camera app with filter or preset support.