How to Take Better Photos in Low Light (With Just Your Phone)
Low light causes three problems at once: motion blur, noise, and bad color. Here's what goes wrong and how to fix each one
How to Take Better Photos in Low Light (With Just Your Phone)
Low light is where phone cameras struggle most. Photos come out blurry, grainy, oddly colored, or all three. The subject looks fine on screen and disappointing in the gallery.
The reasons are mechanical, and once you understand them, most of the problems have straightforward fixes. Here's what actually goes wrong in the dark and what to do about it.
Why phones struggle in low light
Three things happen at once when there isn't much light.
The shutter stays open longer. To collect enough light, the camera slows the shutter. Anything that moves during that window smears, including your own hands. This is why low-light photos are blurry more often than they're dark.
ISO climbs and noise appears. The camera compensates by amplifying the signal, which amplifies noise along with it. You get colored speckling in the shadows and a mushy, plasticky look where fine detail should be.
Color goes strange. Indoor lighting is rarely neutral. Tungsten bulbs are orange, fluorescents lean green, mixed sources fight each other. Auto white balance guesses, and in the dark it guesses badly.
Most low-light advice deals with only one of these. All three need addressing.
Fixing the blur
Blur is the most damaging of the three, because noise and color can be corrected afterward and motion blur cannot.
Brace yourself, not just the phone. Lean against a wall, rest your elbows on a table, sit down. A stable body does more than gripping the phone tightly.
Exhale and shoot. Take the photo at the end of a breath rather than mid-breath. This is a standard technique for a reason.
Use the volume button or a timer. Tapping the screen introduces movement at exactly the wrong moment. The 2-second timer eliminates it entirely.
Ask your subject to hold still. Obvious, but people move more than they think, and in low light you only need a fraction of a second of movement to ruin the shot.
Working with noise instead of against it
Phones apply aggressive noise reduction by default, which is why low-light photos often look smeared rather than grainy. Detail gets averaged away.
You have two options, and the second is usually better.
Reduce the noise. Get more light on the subject. Move closer to a window, turn on another lamp, wait for a bus to pass with its headlights on. Any additional light lowers the ISO and the noise with it.
Embrace the noise. Grain in a dark photo reads as atmospheric rather than broken, especially in black and white. A grainy night shot looks intentional in a way that a smeared one never does.
The second approach is why filters designed for low light often add grain rather than removing it. Retrica's Nighttone set is built for this, and its filters are among the more heavily used in the library, which suggests people are reaching for them in exactly these conditions.
Fixing the color
Auto white balance struggles most with mixed lighting: a warm lamp on one side, cool daylight through a window on the other.
Pick a side. Rather than trying to neutralize everything, lean into one temperature. Warm reads as cozy and intimate. Cool reads as moody and cinematic. Neutral, in mixed light, usually reads as wrong.
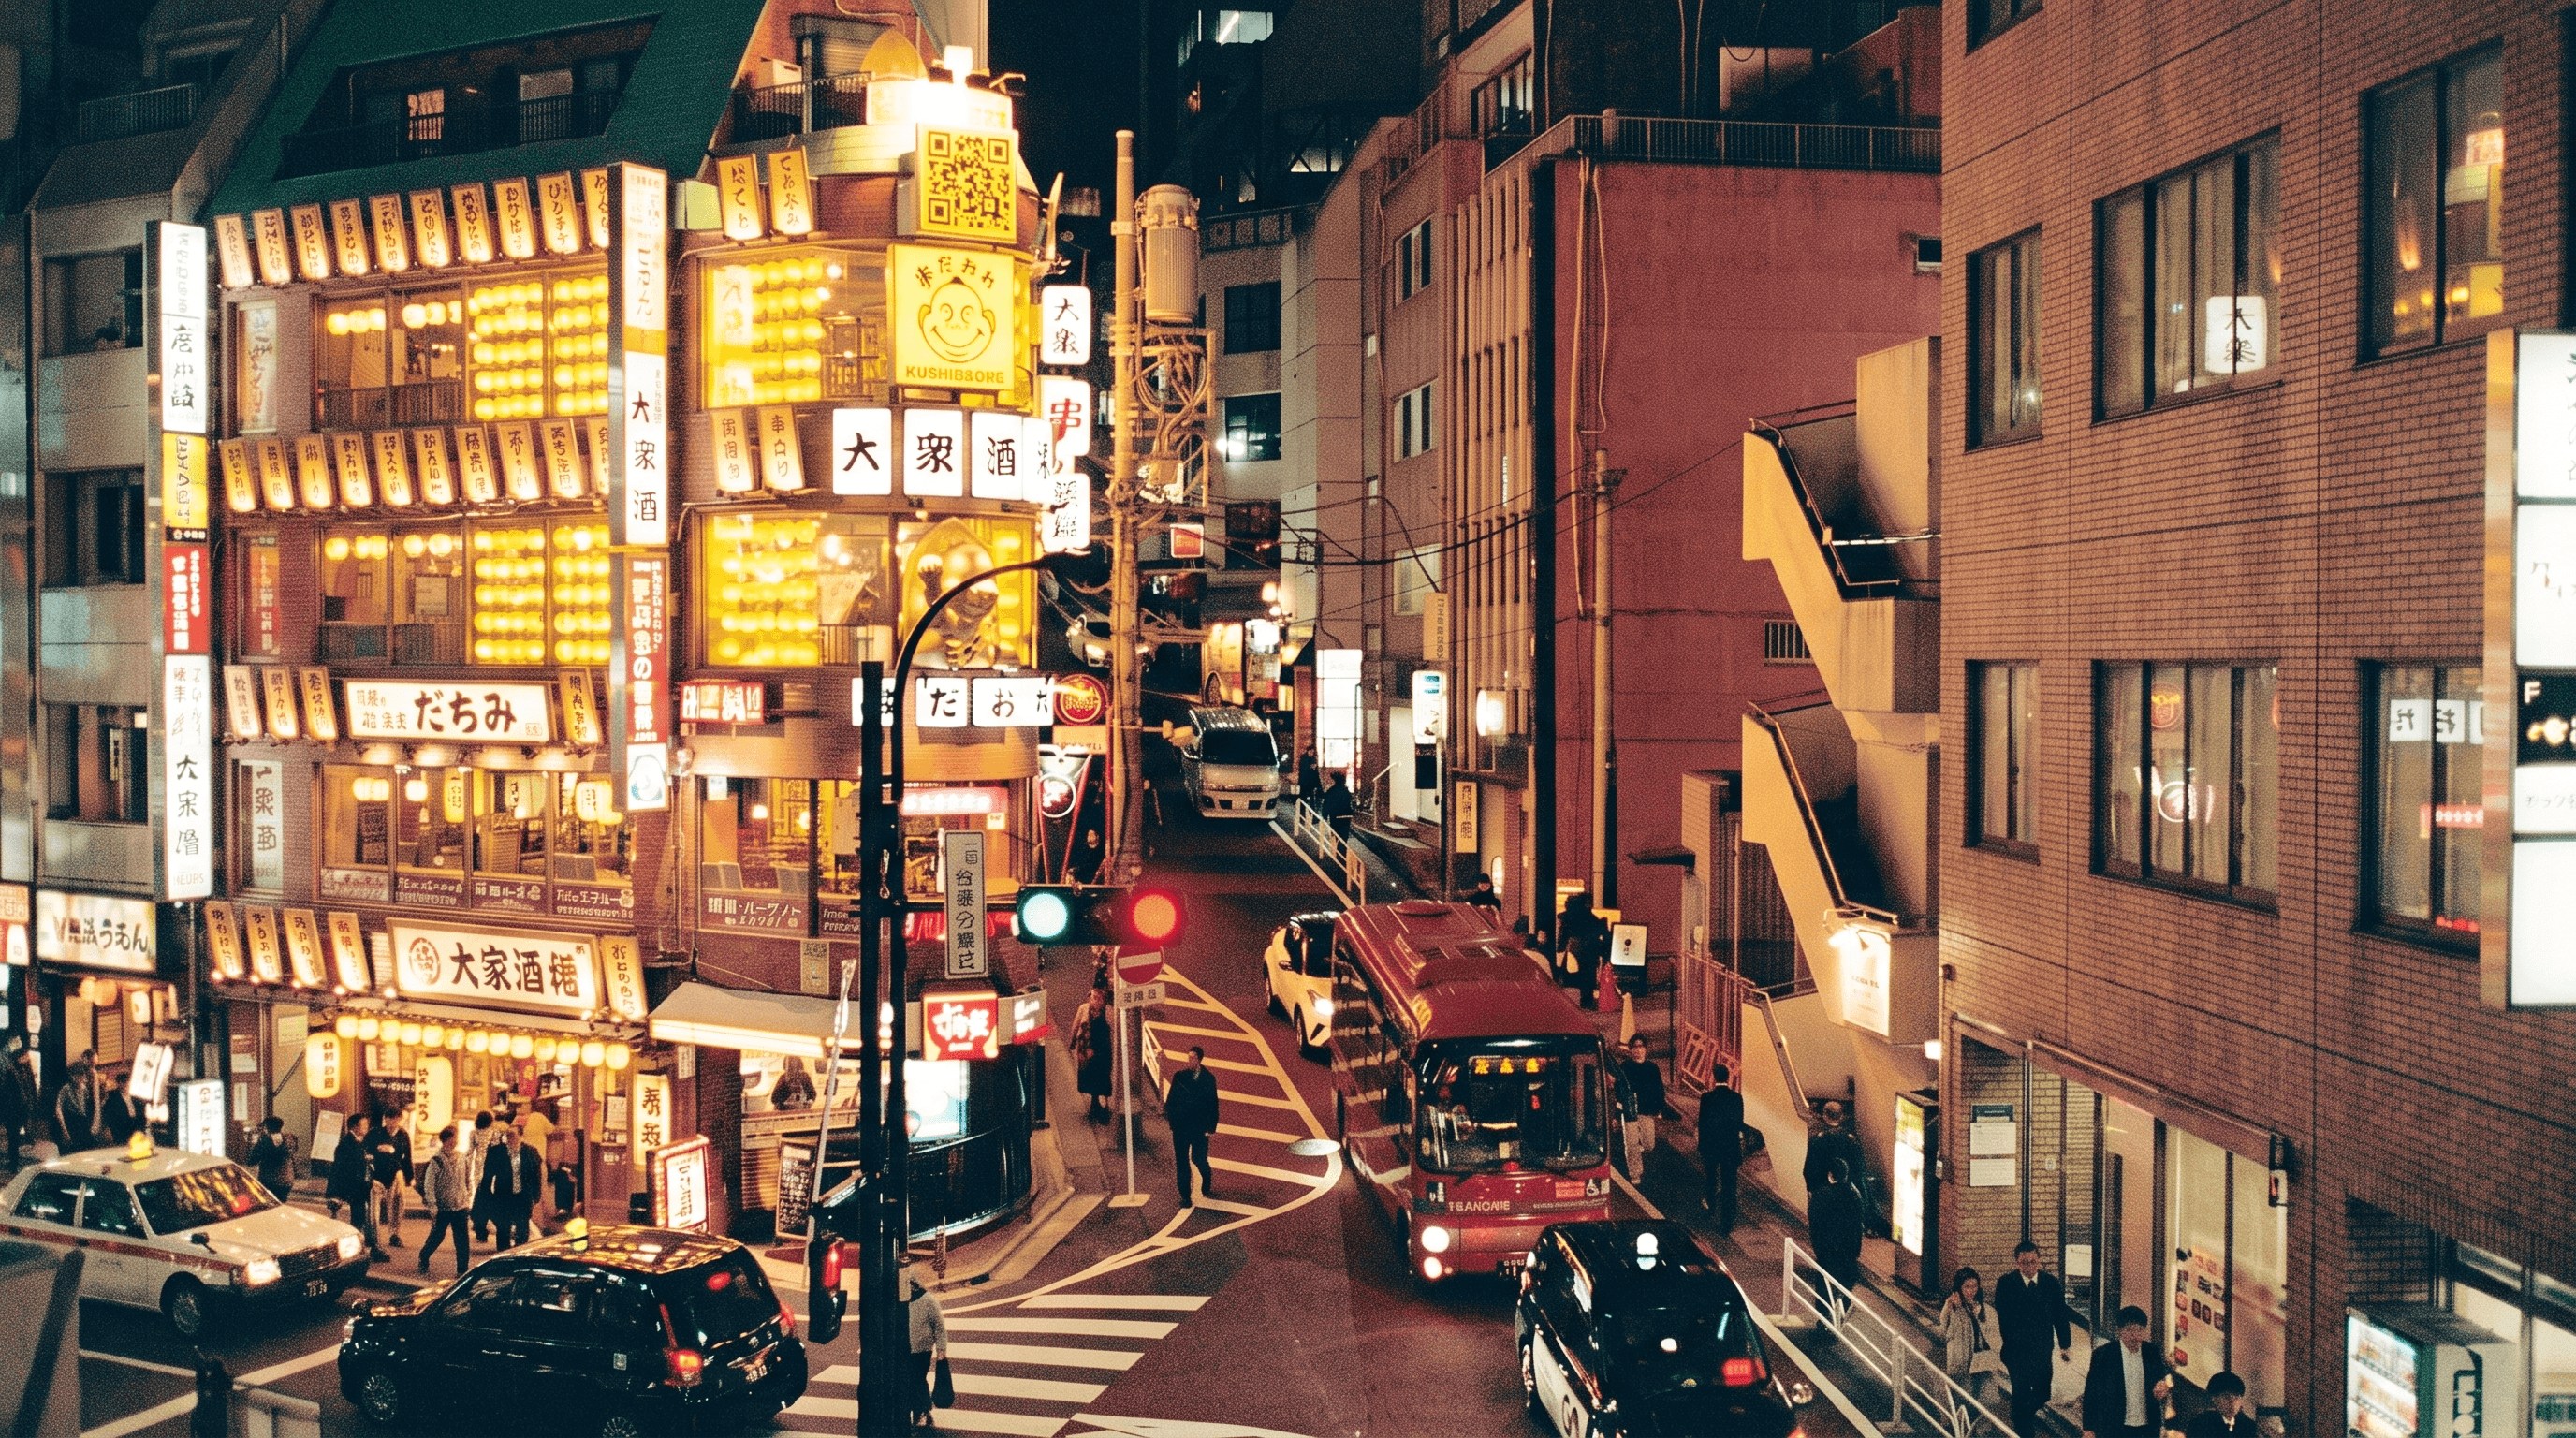
Let the orange stay orange. Street lights, restaurant interiors, and candlelight are supposed to look warm. Correcting them to neutral removes the reason the scene was worth photographing.
If you're using preset-based filters, ones with a defined color direction handle this better than automatic correction, because they commit to a look instead of splitting the difference.
Shooting habits that help
Find the light source and move around it. In a dark room, the difference between standing on one side of a lamp and the other is enormous. Position your subject so the light falls on them rather than behind them.
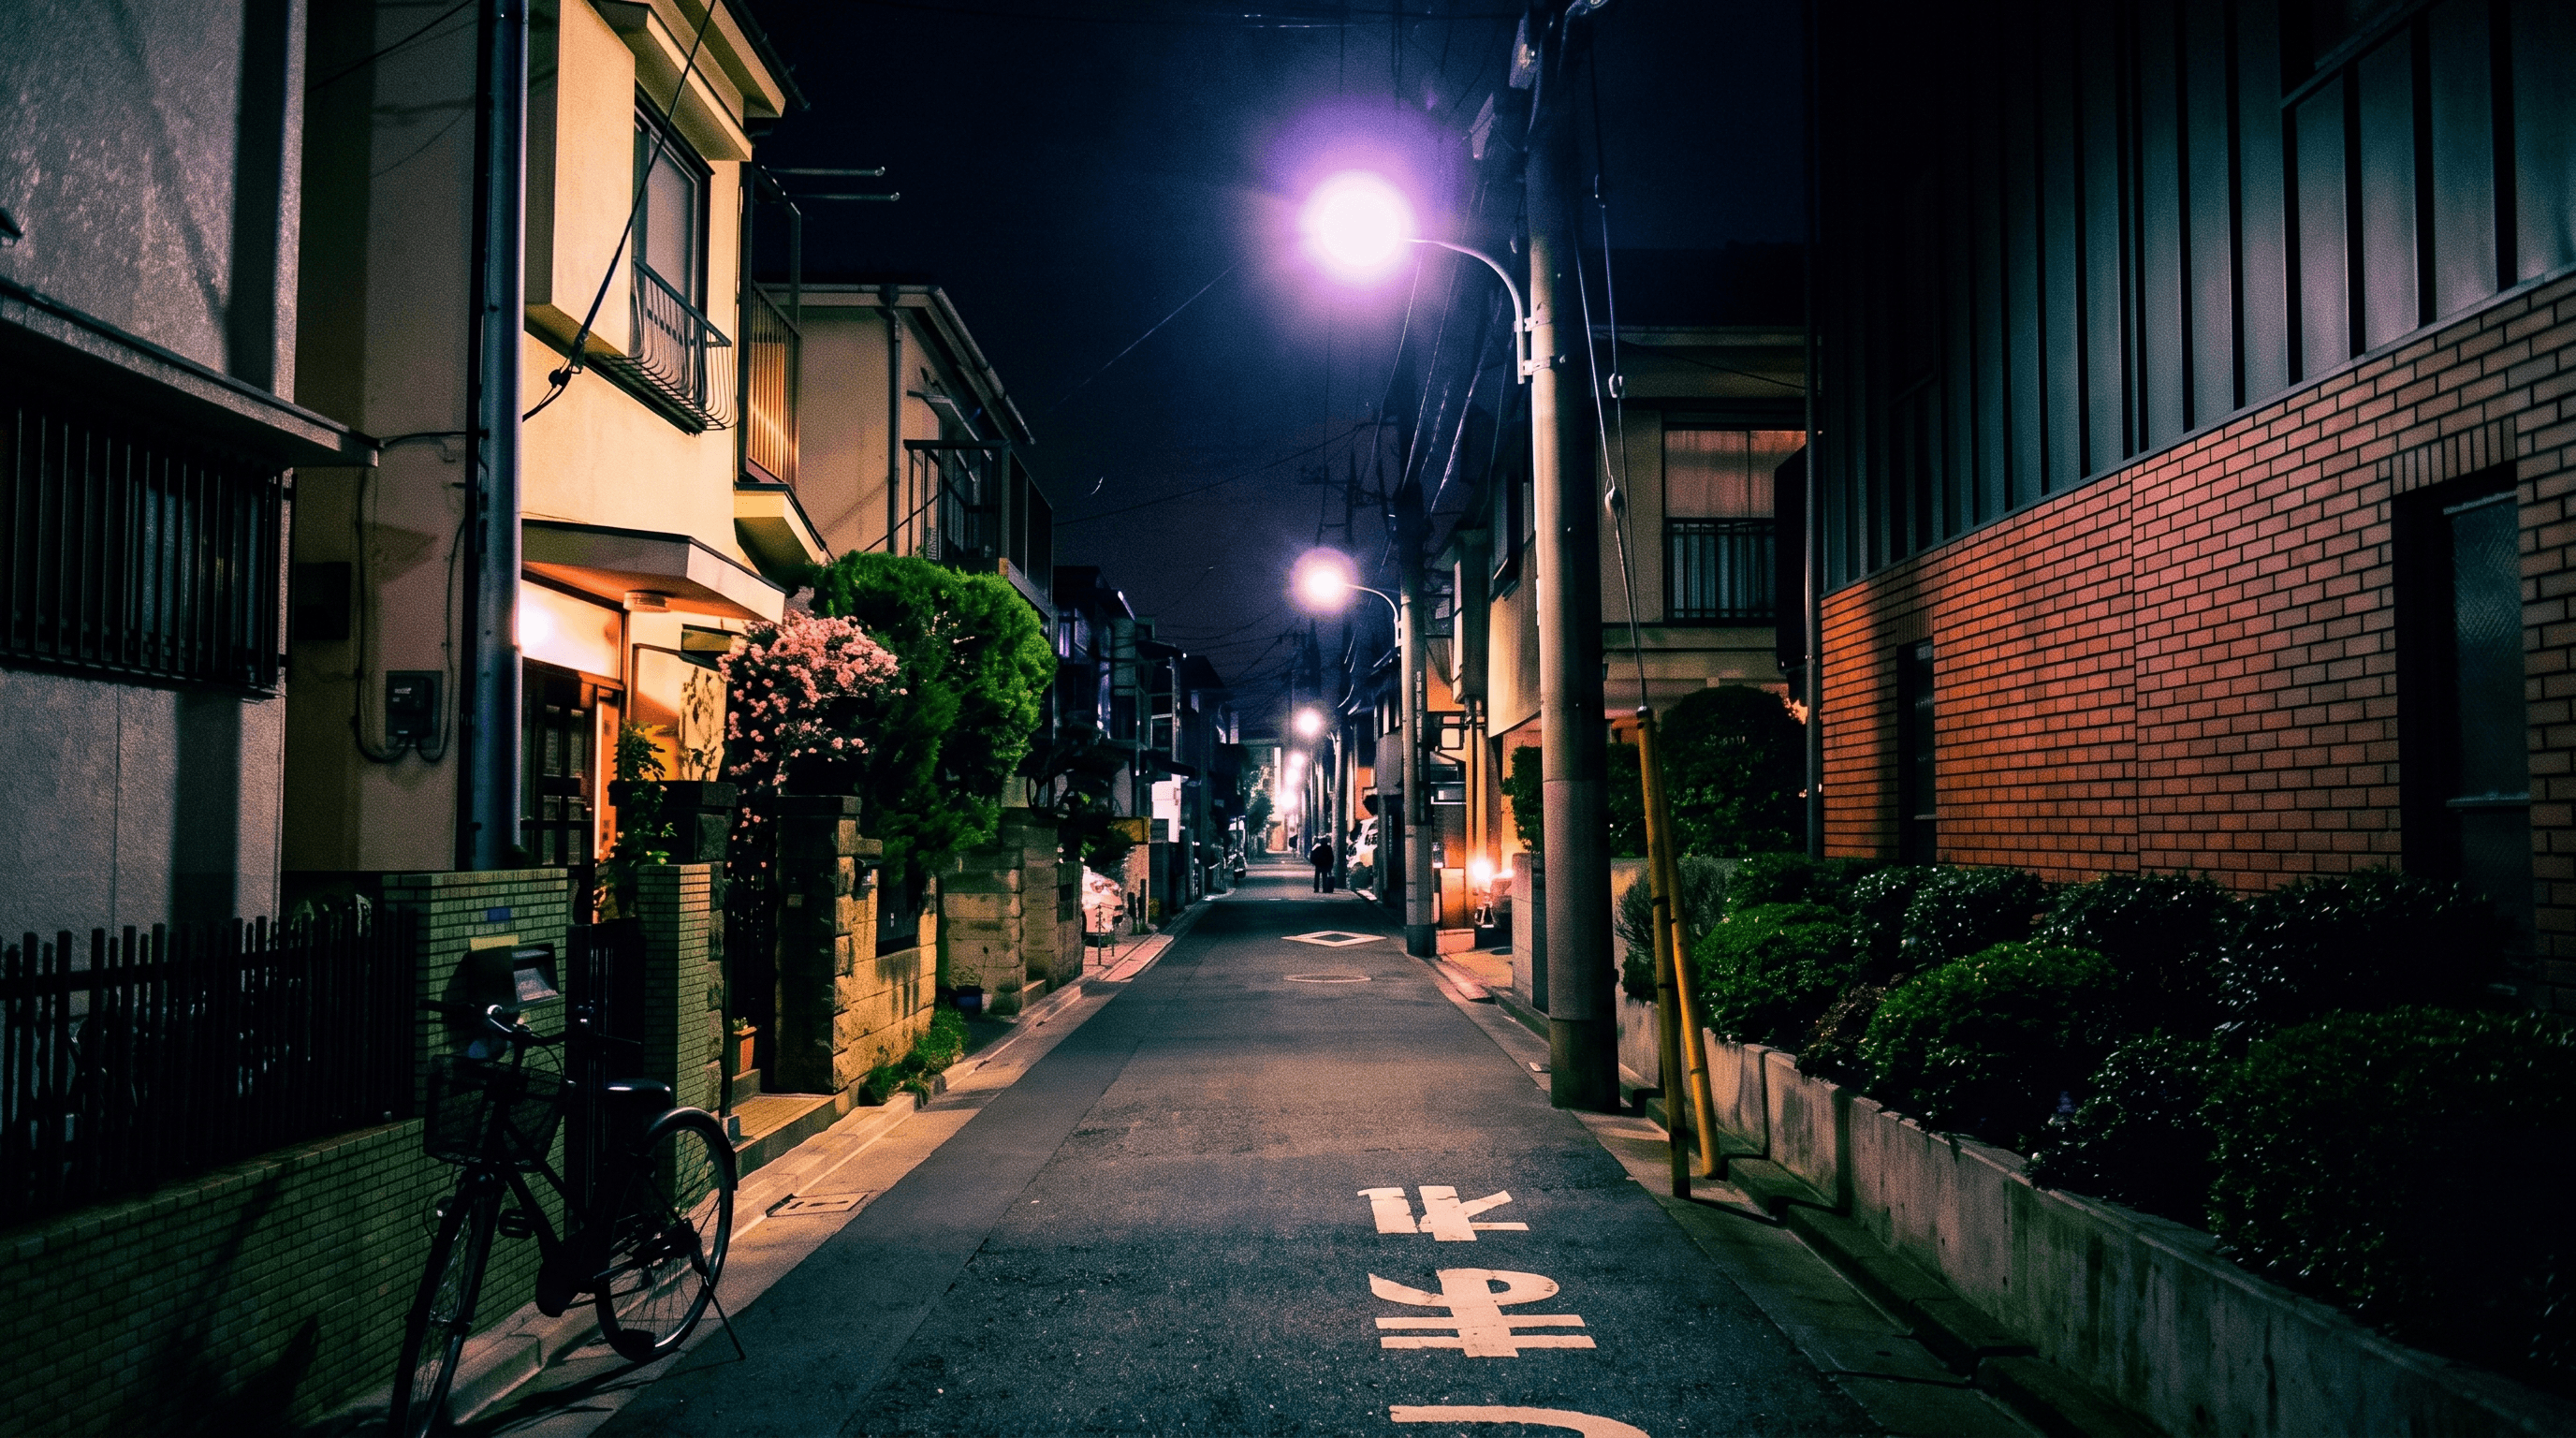
Shoot toward light, not away from it. Backlighting in low light creates silhouettes and glow, which is usually more interesting than a flatly lit dark subject.
Get closer. Filling more of the frame with your subject means less dark, noisy background, and the parts that matter get more pixels.
Skip the flash unless you mean it. The on-phone flash flattens everything and kills the ambient light that made the scene look good in the first place. If you use it, it should be a stylistic choice rather than a fallback.
Why live preview matters more at night
In good light, you can shoot first and adjust later. In low light, you often can't, because a badly exposed or motion-blurred frame has nothing to recover.
Seeing the processed result while framing lets you catch the problems that matter: whether the shot is sharp, whether the color direction works, whether the grain reads as texture or as mess. You can reposition and reshoot before the moment passes.
Retrica applies its filters live in the camera, including the low-light sets, and photos and videos save without a subscription, so trying several approaches to the same dark scene costs nothing.
Filters that suit low light
If you're working with a preset library, a few categories tend to work better in the dark than general-purpose filters.
Night-specific sets. Retrica's Nighttone set (the NGT and NTVS series) is built for dark scenes, and several of its presets rank among the more heavily used filters in the app. NGT002, NGT005, and NTVS03 through NTVS05 all see regular use, which suggests they hold up in real conditions rather than just looking good in a preview grid.
Deep and saturated color. The Deep set (DEEP G, SLATE, TEAL, GRZLD) leans into darker, richer color rather than trying to brighten everything. This suits night scenes better than a filter designed to lift shadows, which tends to expose noise.
Black and white. Removing color removes the white balance problem entirely, and grain reads as texture rather than as an error. Retrica's Black&White set includes options across a range of contrast levels, from clean editorial monochrome to heavily grained.
Warm indoor tones. For lamp-lit interiors, UDTONES and SUJI push toward incandescent warmth rather than correcting it away. Both are among the most-used filters in the library.
All of these are in the free tier.
A simple starting routine
For a dark scene, in order:
Brace against something solid
Move so the light falls on your subject
Pick a warm or cool direction and commit to it
Use the timer instead of tapping
Accept some grain rather than fighting it
That covers the three failure modes without needing any special equipment.
Techniques described here apply to any phone camera, with or without filter support.