Dehaze
Dehaze reduces atmospheric haze and fog to reveal hidden detail and contrast in your photo. It restores clarity to distant subjects and landscapes, but over-applying it can make skies look unnatural and colors overly saturated.
Cutting Through the Haze
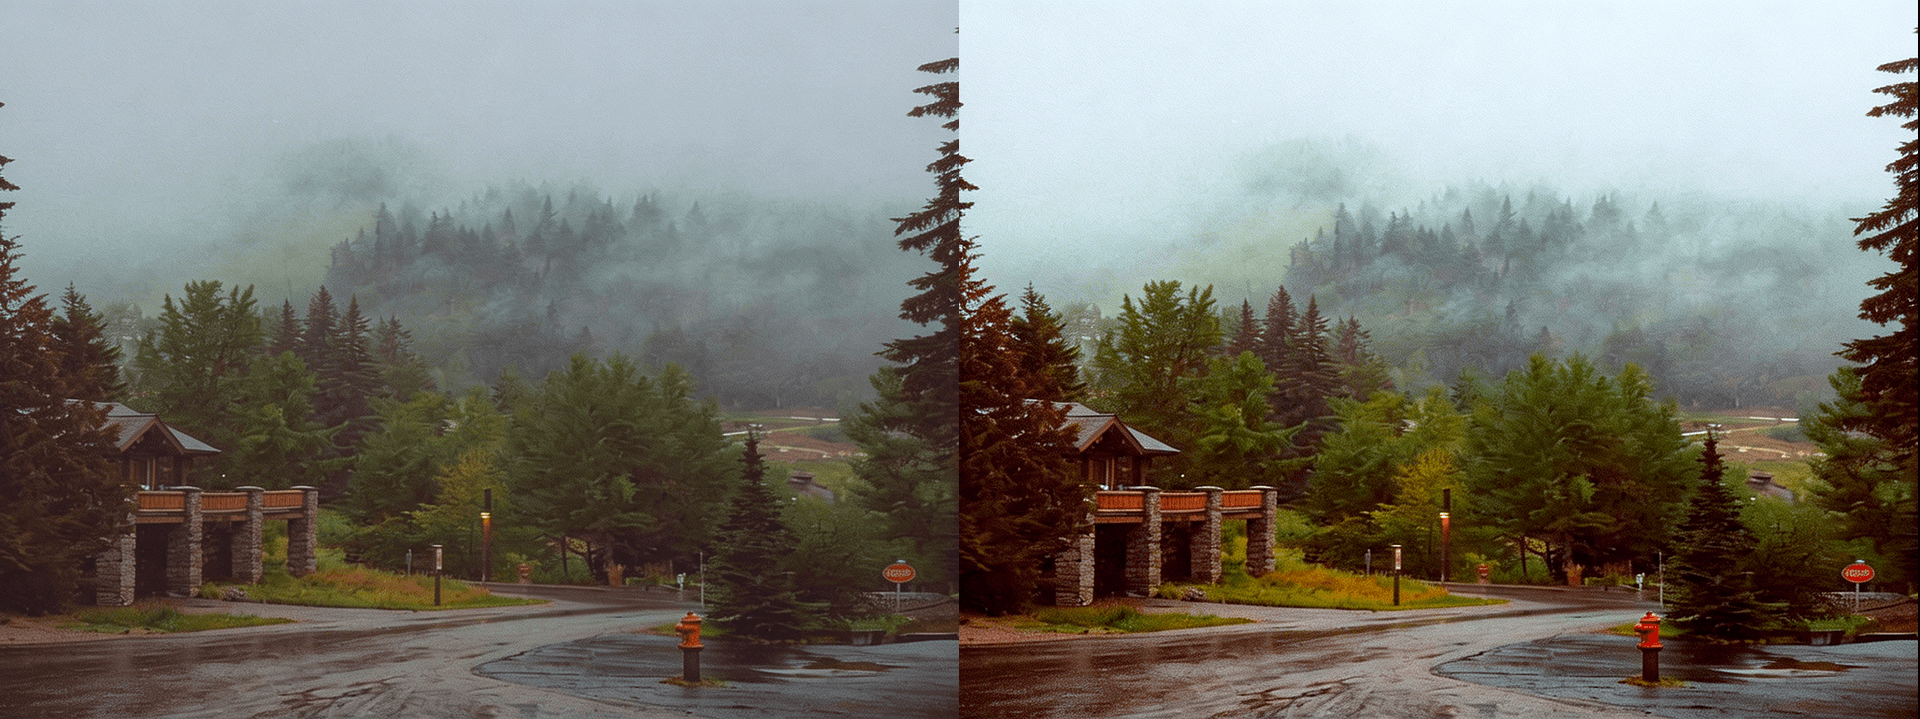
Dehaze is built for one of photography's most frustrating challenges — atmospheric interference. Whether it's fog rolling in off the water, urban smog flattening a city skyline, the kind of milky softness that comes from shooting through glass or a window, or the general flatness that overcast conditions impose on an otherwise vivid scene, dehaze works by identifying and targeting that loss of contrast and color that haze creates, then systematically restoring what the atmosphere has taken away. Unlike simply boosting contrast or saturation globally, dehaze is designed to work specifically on the tonal and color characteristics of haze itself — the way it lifts shadows, dulls colors, and compresses the tonal range into a narrow, washed-out band. The result, when applied well, is an image that feels like it was always meant to look this way, rather than one that's been aggressively corrected in post.
Revealing What Was Always There
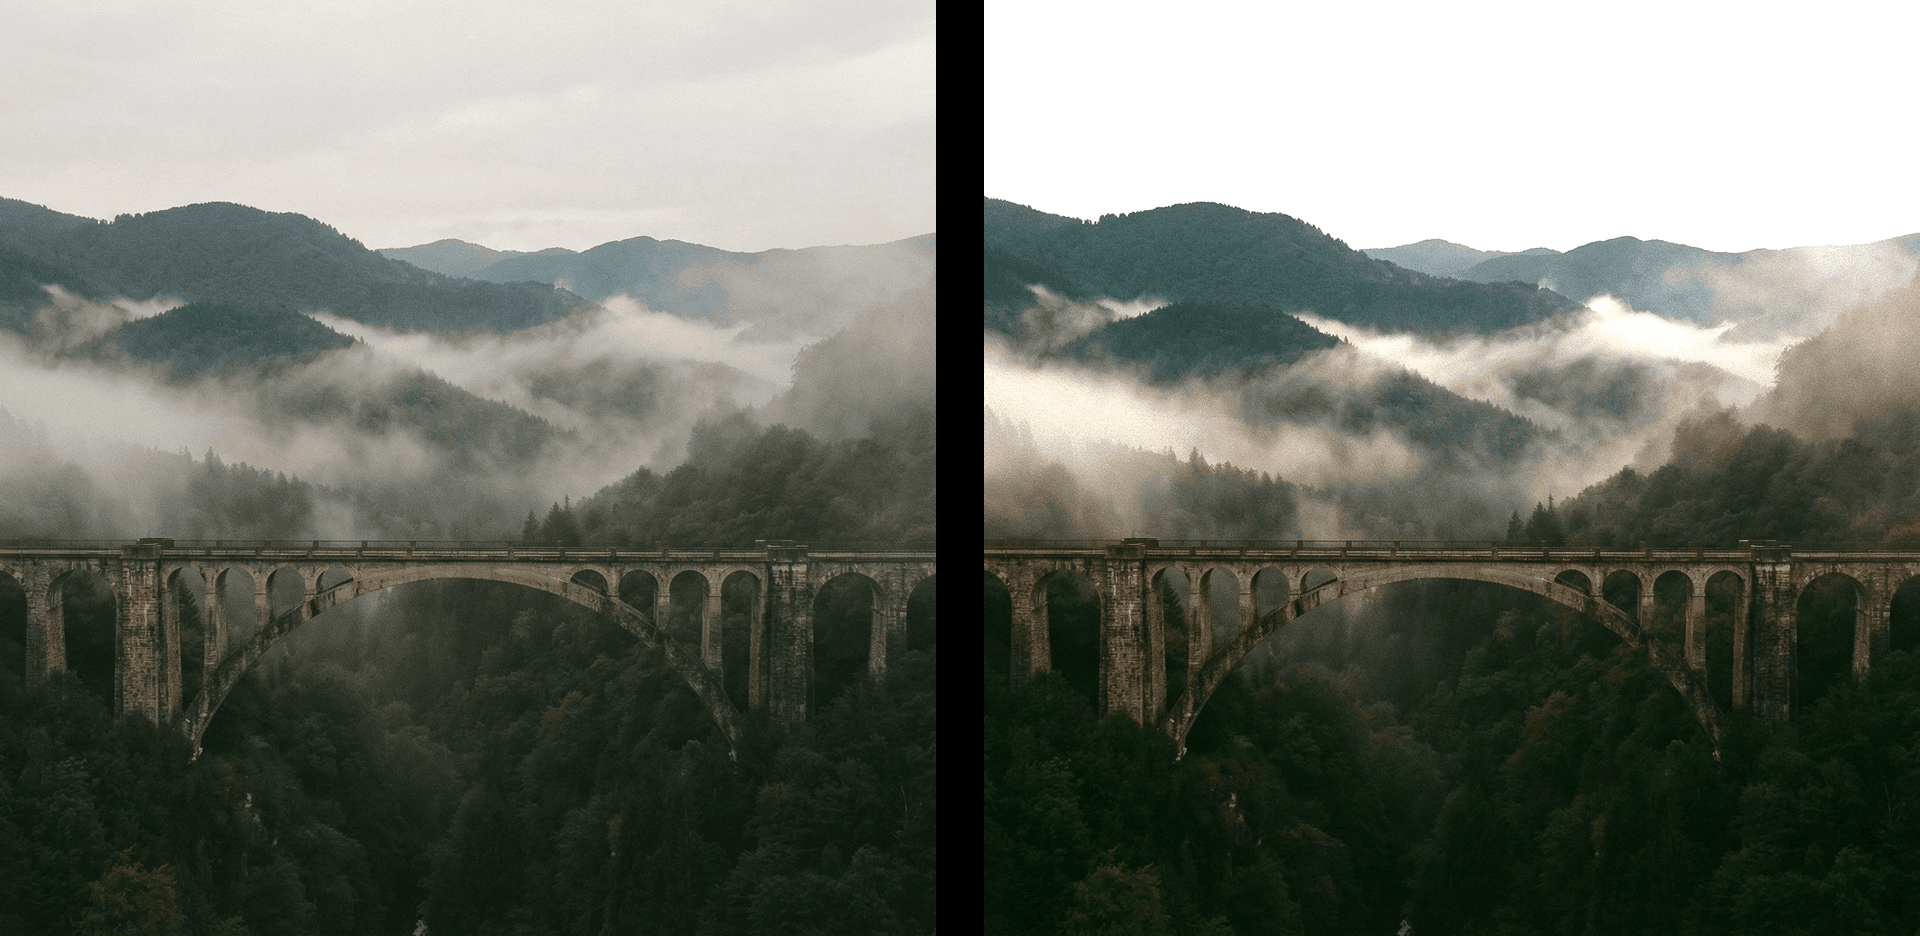
At its best, dehaze feels less like an edit and more like clearing a window — suddenly revealing color, depth, and detail that the atmosphere was hiding all along. It's particularly transformative in landscape and travel photography, where distant mountains, city skylines, rolling hills, or coastal horizons often lose their definition entirely to layers of atmospheric haze that the camera captures more faithfully than the eye perceives. A single application of dehaze in these contexts can restore a sense of distance and depth that makes a flat, compressed scene feel genuinely three-dimensional again. It's also effective in aerial and drone photography, where altitude introduces significant atmospheric distortion, and in any urban environment where pollution or humidity creates a persistent veil over distant architecture. In each of these situations, dehaze doesn't change what was photographed — it simply removes what was obscuring it.
A Tool That Can Overcorrect Quickly
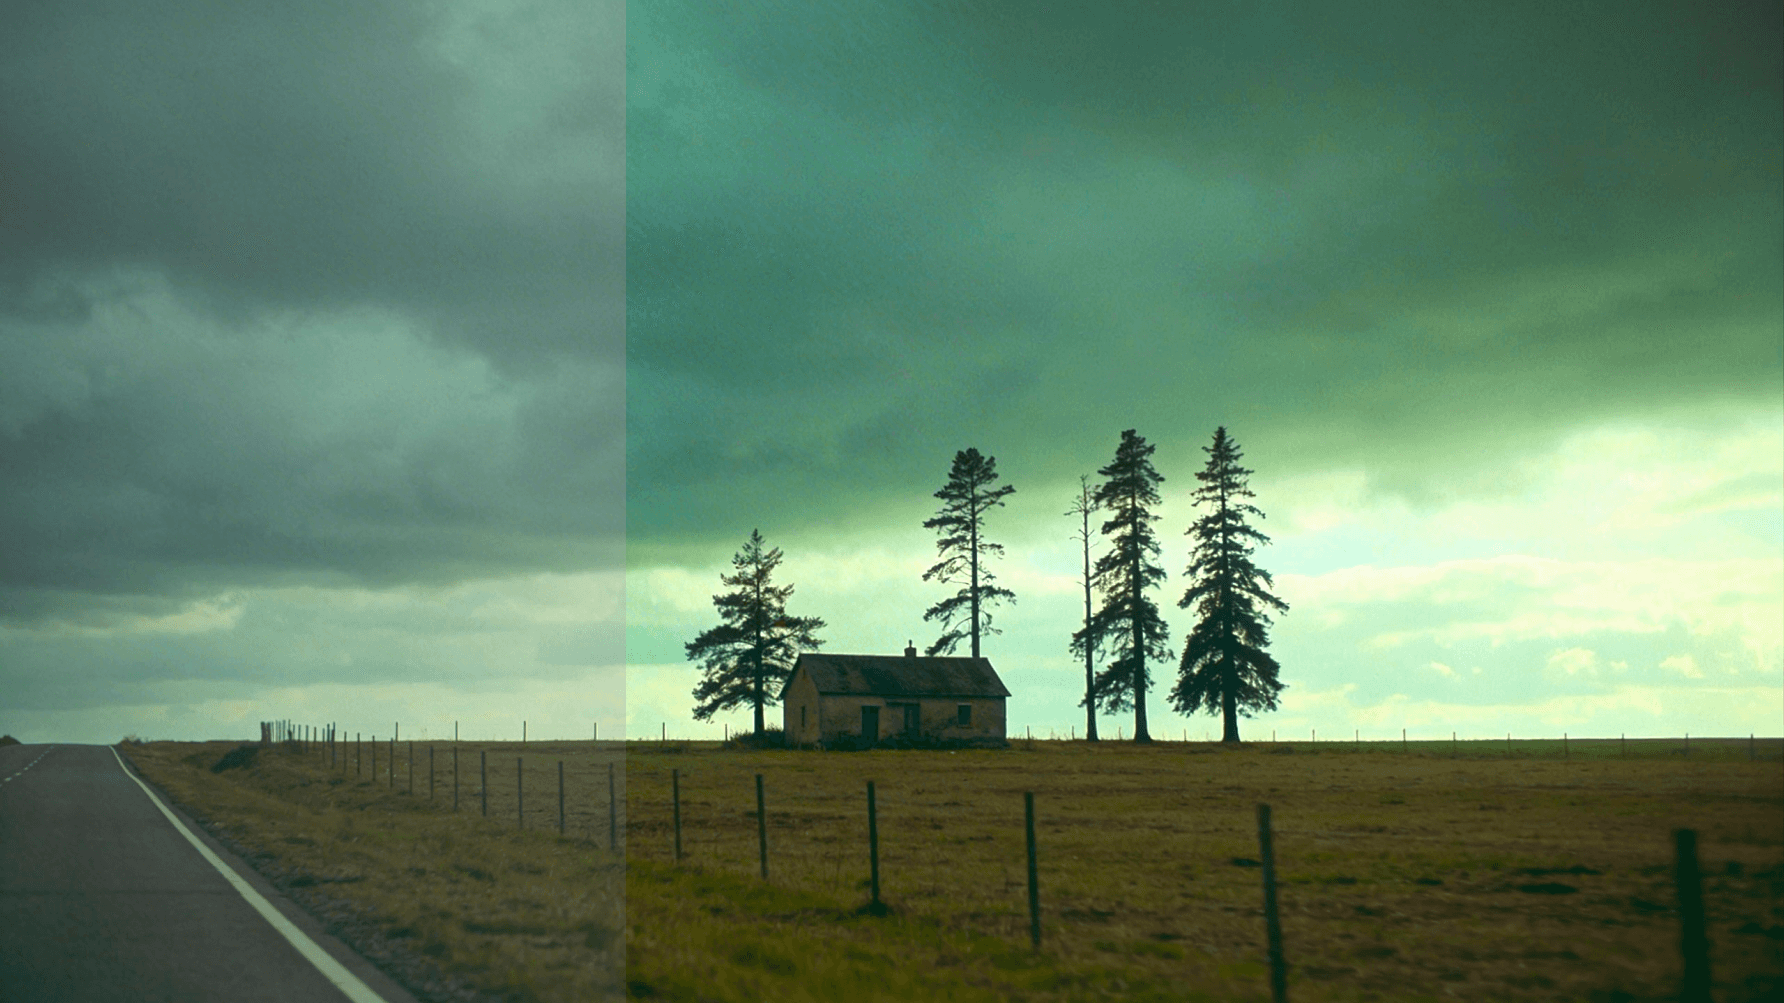
Dehaze is powerful, but it's also one of the more aggressive tools in the editing toolkit, and it reaches its limits faster than most. Applied too heavily, it oversaturates colors into unnatural territory, creates harsh and artificial-looking contrast, and can make skies shift from a realistic blue into something that looks almost digitally painted. It also has a significant side effect that many editors overlook: because haze naturally lifts the shadow regions of an image, removing it tends to dramatically darken those same areas, which can leave the lower half of a landscape or the foreground of a scene feeling underexposed and heavy. The most effective workflow is to apply dehaze conservatively, then follow it immediately with a shadow lift to compensate for that darkening effect, and finish with a saturation or vibrance reduction if the colors have become too intense. Use dehaze as a restoration tool — one that brings back what was already there — rather than as a way to reinvent the tonal character of an image from scratch.