Exposure
Exposure controls the overall brightness of your entire photo by simulating how much light the camera sensor receives. Increasing it brightens the whole image evenly, while reducing it darkens the scene, though extreme adjustments can wash out highlights or crush shadows beyond recovery.
The Starting Point of Every Shot

Exposure is the foundation of every photo, controlling how much light defines your entire image from the brightest sky to the deepest shadow. Think of it as the master brightness dial — the single most important adjustment you'll make before anything else. Every other edit you apply, whether it's contrast, color, or clarity, is built on top of the exposure you set first. Get it right, and every subsequent adjustment falls into place naturally. Get it wrong, and no amount of color grading or sharpening will fully compensate for a poorly exposed base.
Light Up or Dial Down
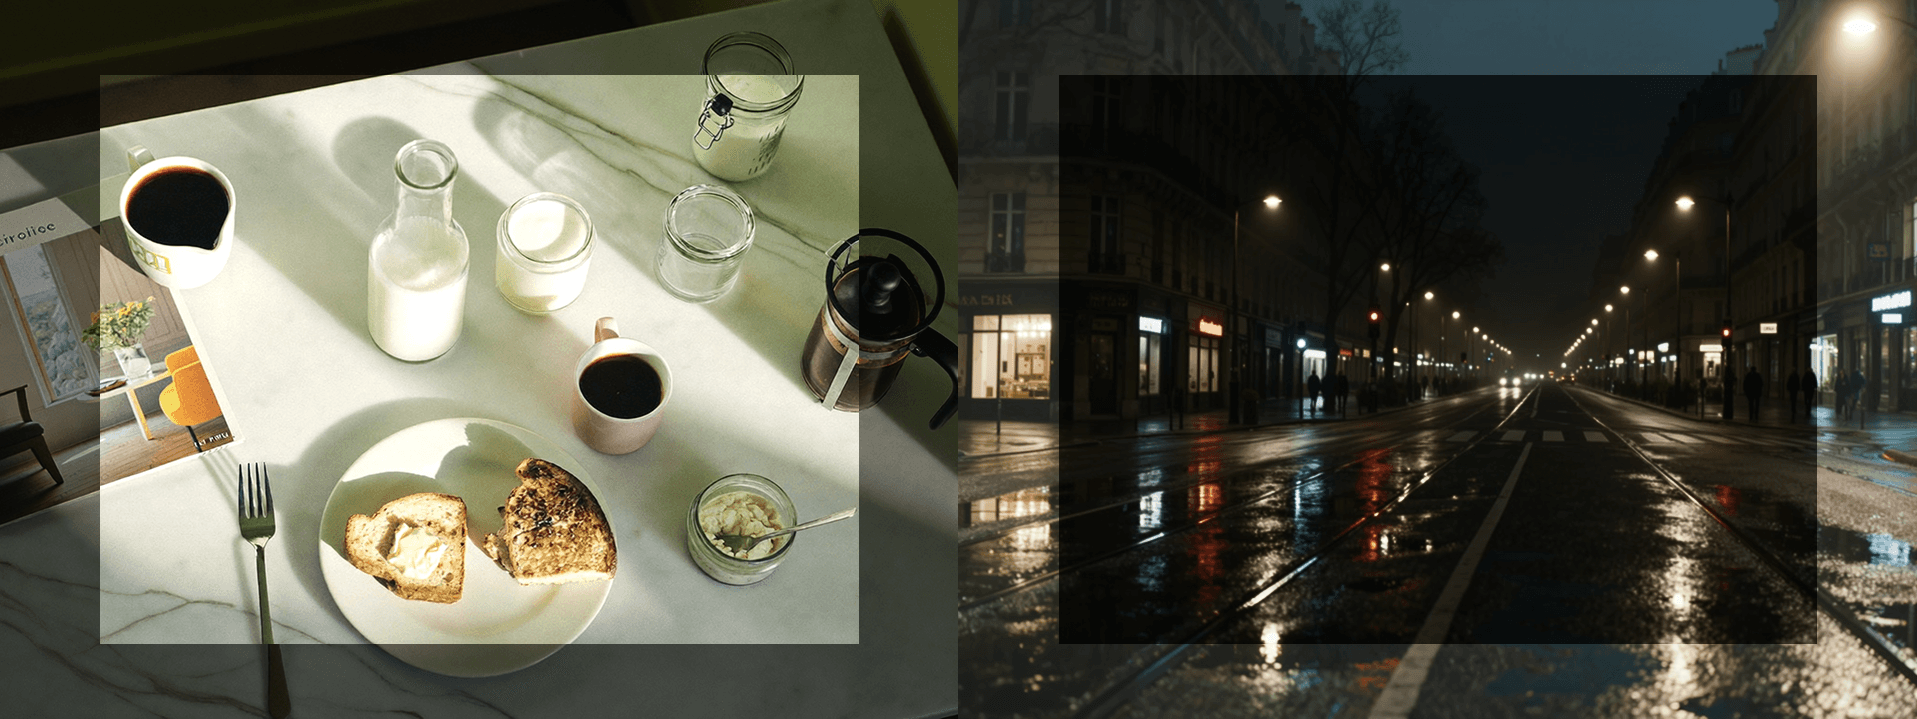
Pulling exposure up opens up a scene, making it feel airy, bright, and expansive — ideal for outdoor portraits in natural light, flat lays, lifestyle content, or any moment where you want the image to feel open and inviting. It can also rescue underexposed shots taken in low light, bringing back midtone detail that might otherwise feel muddy or lost. Bringing exposure down does the opposite: it creates a moodier, more cinematic atmosphere, drawing the eye inward and adding visual weight to the image. This technique works especially well for dramatic portraits, night scenes, and any composition where shadow plays as much of a role as light.
Know When to Stop
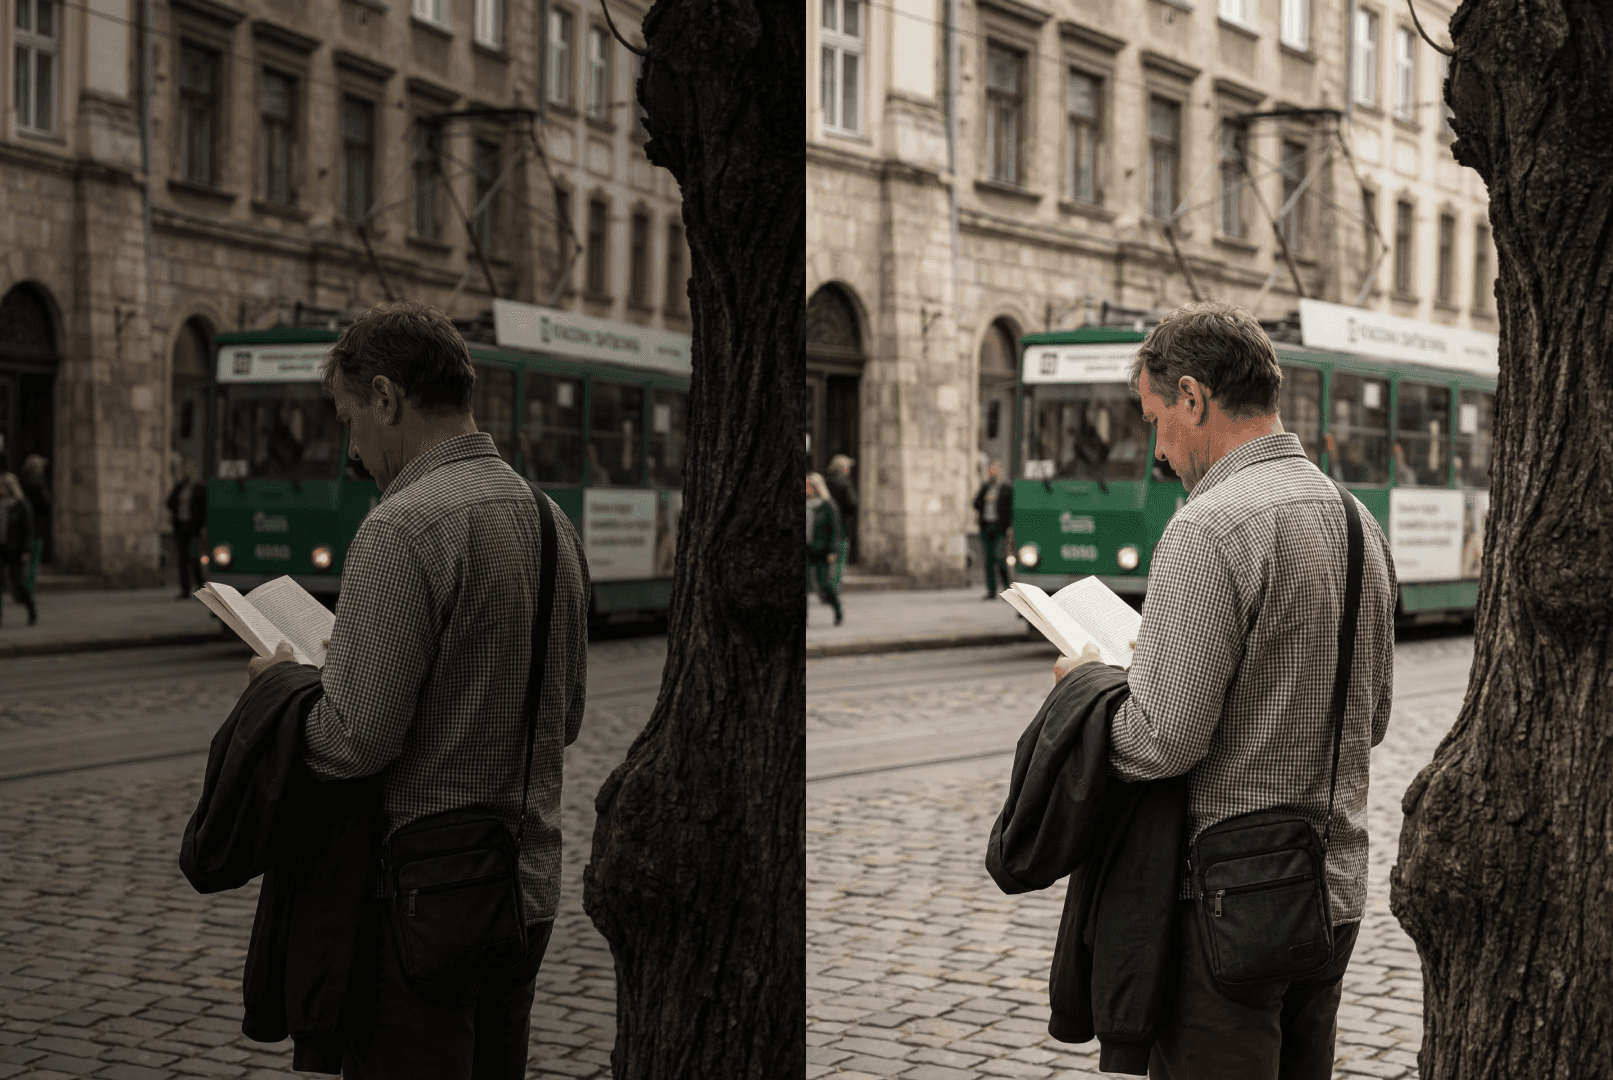
The key is restraint. Pushing exposure too far in either direction starts to permanently erase information from your image — highlights blow out into flat, featureless white, and shadows collapse into pure, detail-free black. Unlike most adjustments, clipped highlights and crushed shadows cannot be recovered after the fact, no matter how many other tools you apply. This is why exposure is best used as a foundation rather than a finishing move — set it conservatively to preserve tonal range, then use brightness, highlights, shadows, and whites to shape the light more precisely from there.