Whites
Whites defines the brightest point in your photo, determining how bright the highlights can get. Increasing it adds brilliance and airiness to bright areas, while reducing it tones down overexposed regions for a more balanced look.
Setting the Ceiling of Your Image
Whites define the absolute brightest point your photo can reach — the uppermost boundary of the tonal range, beyond which all detail collapses into featureless white. While the highlights slider adjusts the general bright areas of an image across a wider tonal band, whites operate at the very top of that range, controlling the extreme upper limit of luminance with a precision that the highlights slider alone cannot achieve. Understanding the distinction between these two tools is one of the more nuanced aspects of tonal editing, but it's also one of the most useful: highlights shape the broad character of your bright areas, while whites set the absolute ceiling that determines how far the brightest elements in your image can actually travel up the tonal scale before they clip.
Adding Brilliance to Light-Filled Scenes
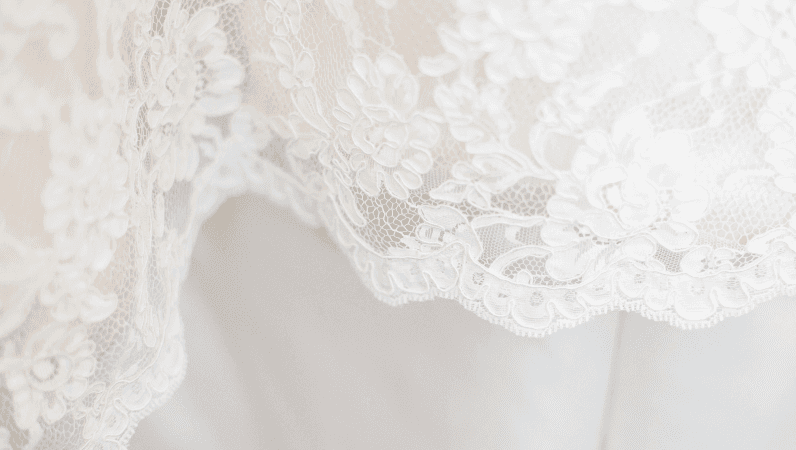
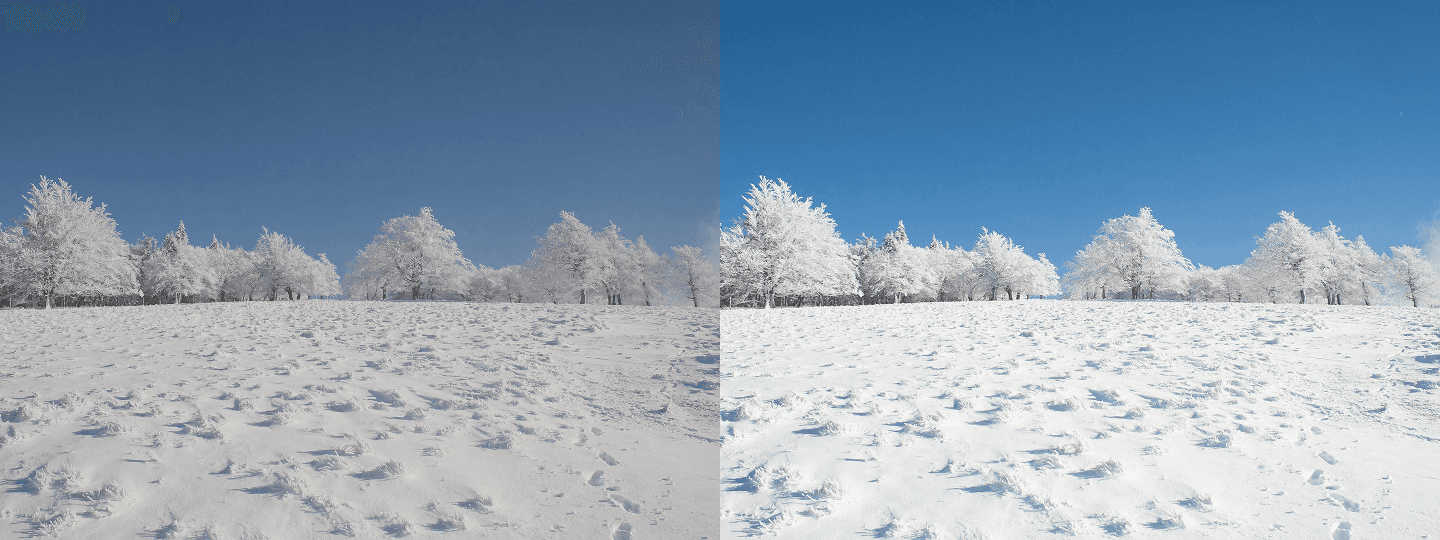
Raising whites adds a sense of brilliance, airiness, and luminous clarity to the brightest elements of an image — it's what makes a white linen shirt look genuinely white rather than slightly gray, a snow-covered landscape feel blinding and expansive rather than flat and dull, or a bright studio portrait take on a clean, polished, high-fashion quality that separates it from more casual photography. In high-key photography, where the deliberate intent is to flood the entire frame with light and minimize shadow to near-nothing, pushing whites is often the final step that completes the airy, open, and almost weightless feeling that defines the aesthetic. It's also particularly effective in product photography, where clean backgrounds need to read as true white rather than off-white, and in food photography, where bright, clean surfaces enhance the sense of freshness and quality that makes food look genuinely appetizing.
Pair With Highlights to Avoid Clipping
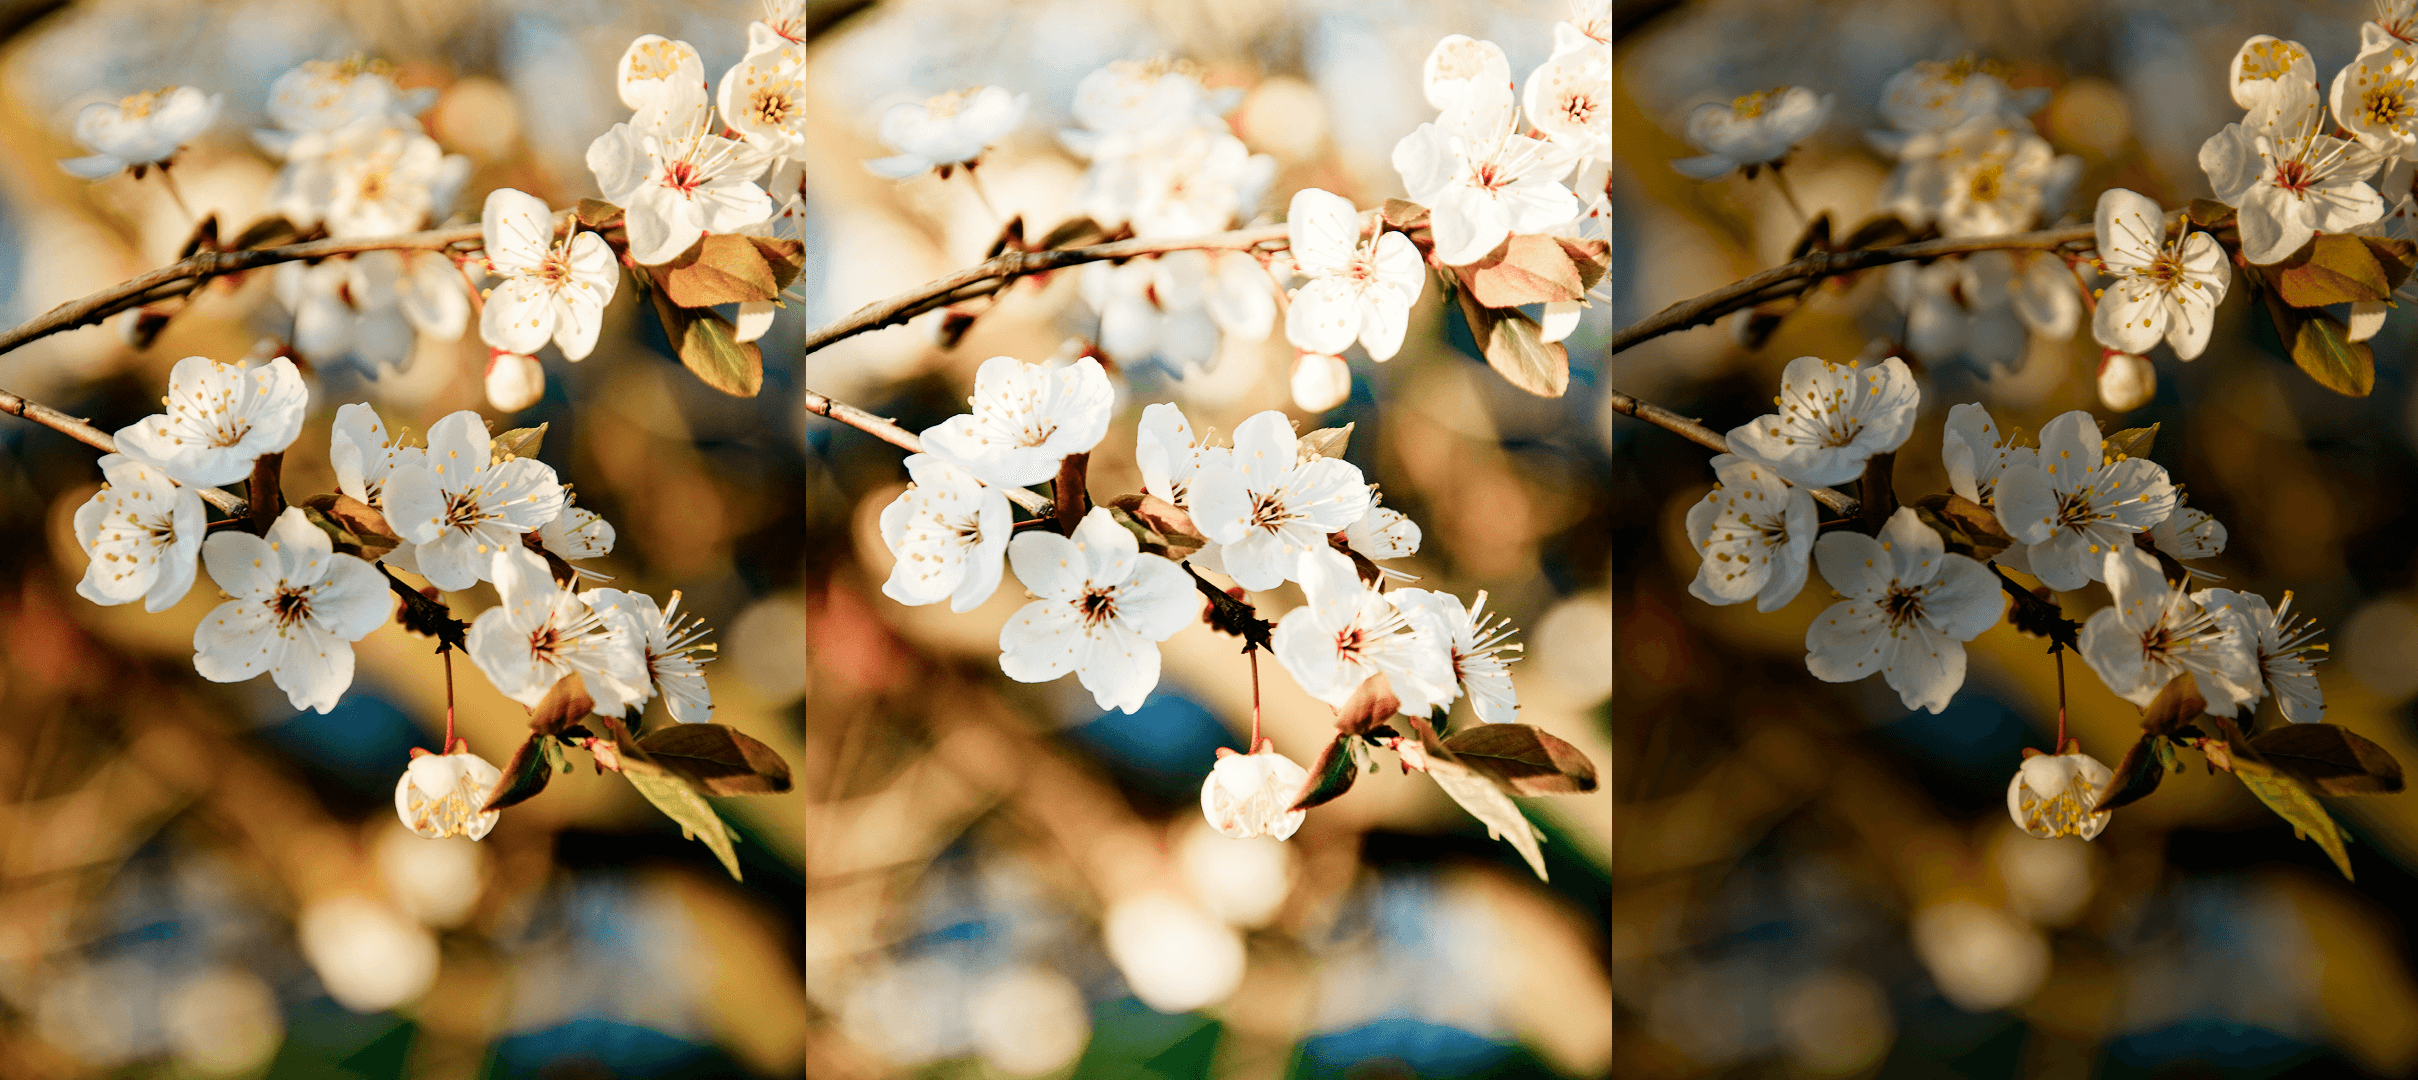
The most significant risk of pushing whites too aggressively is clipping — the point at which the brightest areas of the image exceed the upper limit of the tonal range and collapse into pure, detail-free white that cannot be recovered in post. Unlike highlight clipping, which affects a broader range of bright tones and can sometimes be partially recovered from raw data, white clipping tends to be more absolute and more permanent. To avoid this, the most effective approach is to use whites and highlights as a complementary pair rather than relying on either one in isolation: use highlights to manage the broader character and luminance of your bright regions, and reserve whites specifically for setting the uppermost tonal ceiling with precision. Watching the histogram as you adjust — particularly the right edge — gives you a clear visual indicator of when the whites are approaching the clipping threshold, allowing you to stop before detail is permanently lost.